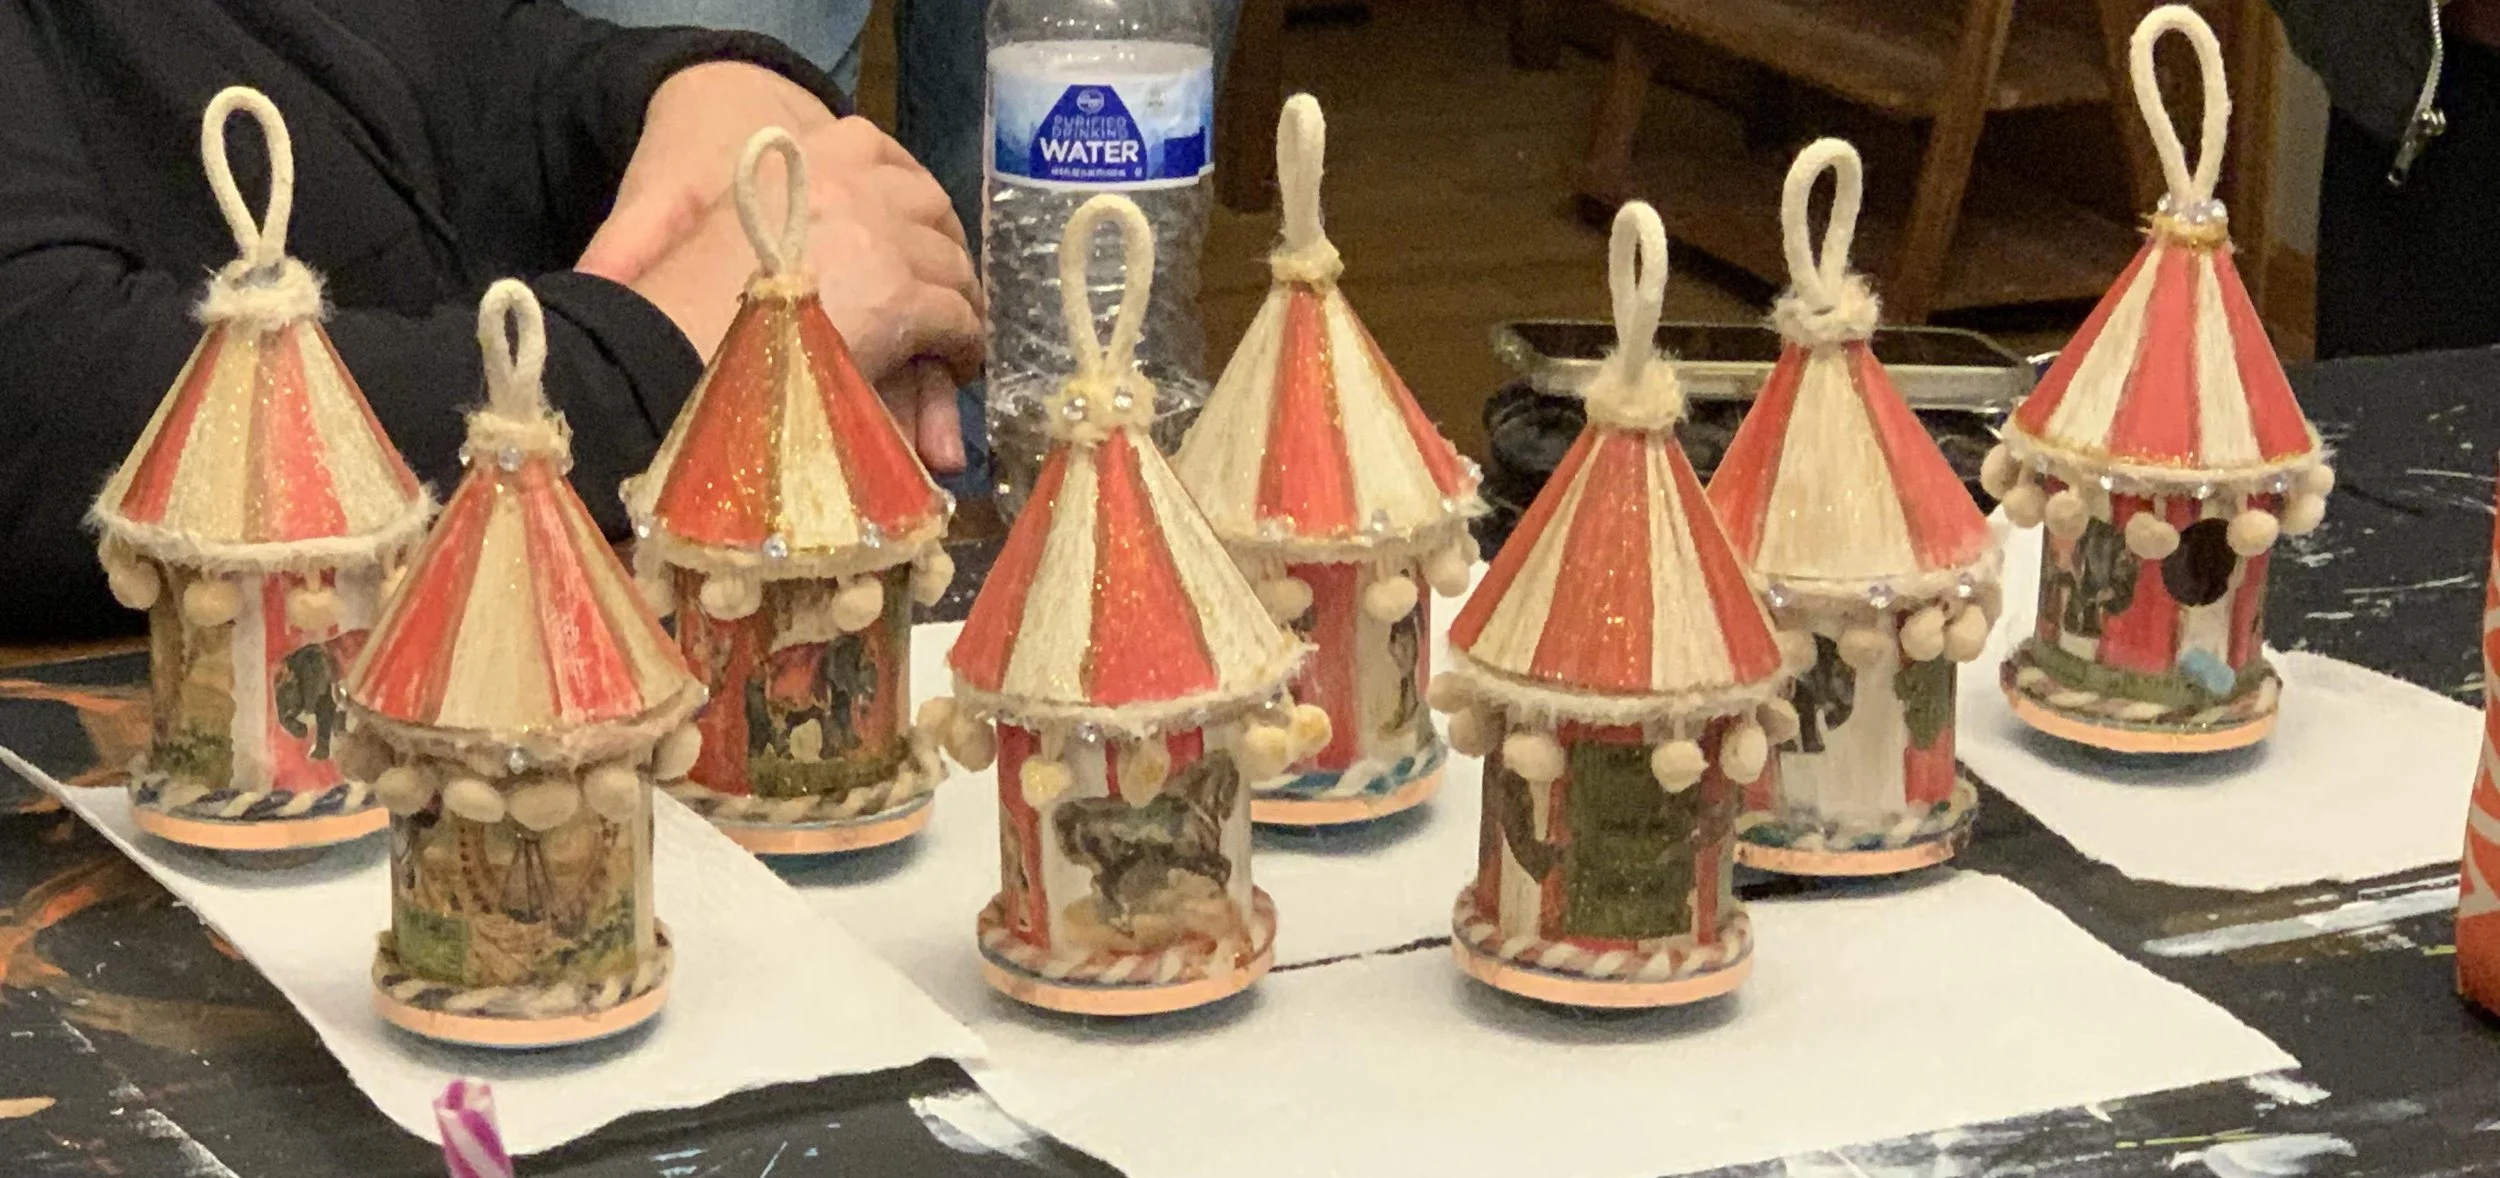
Circus Tent Ornaments
Greetings friends!
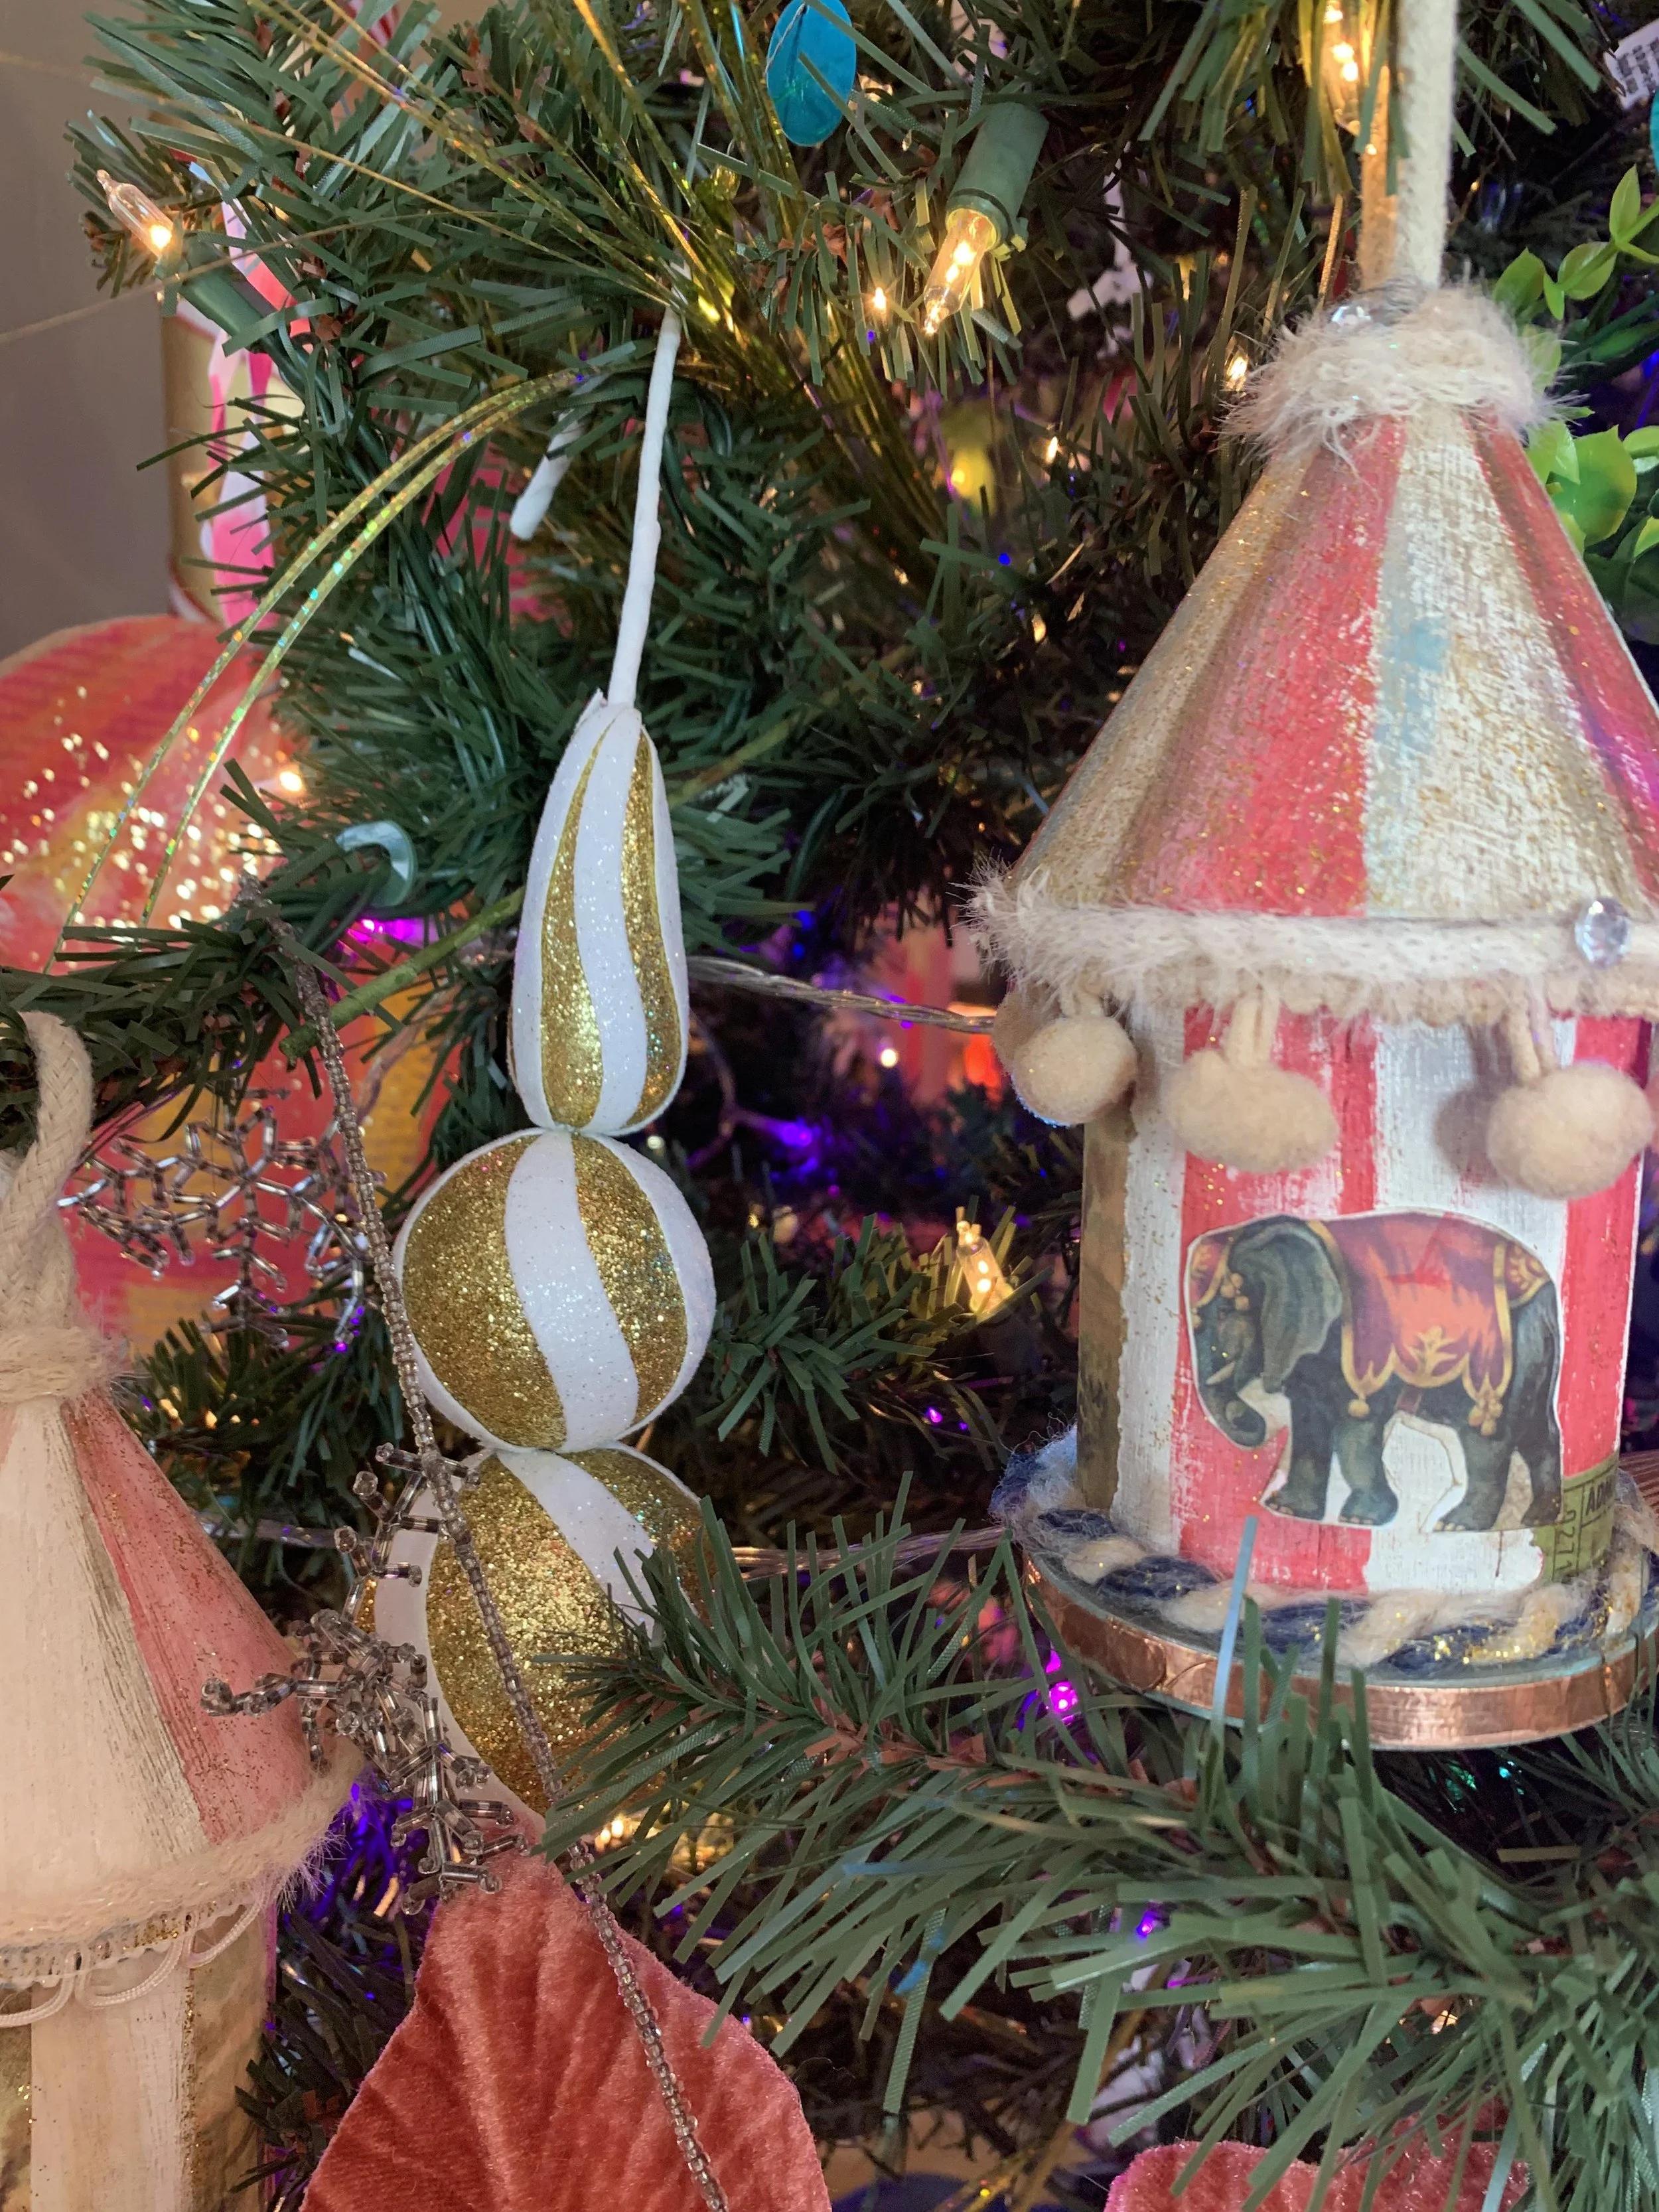
This year my GLADS friends (Girls Laughing And Doing Stuff) were able to make and contribute ornaments for the Christmas Fantasy House (Benefiting the Ronald McDonald house) in my area. It is an amazing time for designers to get together and decorate a home, then the public purchases tickets to tour it and oogle all the beautiful Christmas decorations and get inspiration.
Seasonal events like these offer the opportunity for your GLADS group to get together to have some fun, while also donating to a great cause. For more pictures of our French circus inspired room, click here to hop over to that post.
Materials List
Unfinished wood birdhouse (mine were from Micheals, 5 1/2” tall")
Small wood rounds (Dollar Tree)
Circus themed images printed on plain printer paper (I got mine from here) Thank you Graphics Fairy! I also found some Paris ones here too.
Red, white and turquoise craft paint or Chalk paint
Walnut distress ink with an ink dauber
Assorted ephemera- yarns, washi tapes, fabric trims, tickets, narrow copper foil tape
Gold Glitter paint (Dollar Tree)
Rhinestones (Dollar Tree)
Tools: small paint brushes, Hair dryer, scissors, Hot glue gun (with lots of Gorilla brand Hot Glue sticks), paper glue (like mod podge, Art Glitter glue or tacky glue)
PREP: I started with basic materials available online, at my local stores and from my stash. I bought one birdhouse per person and precut the yarns and trims to assure there would be enough for each person to have a piece.
Tip: Plan out, prep and distribute as many of the basic items as you can and leave the rest of the materials for them to get creative with.
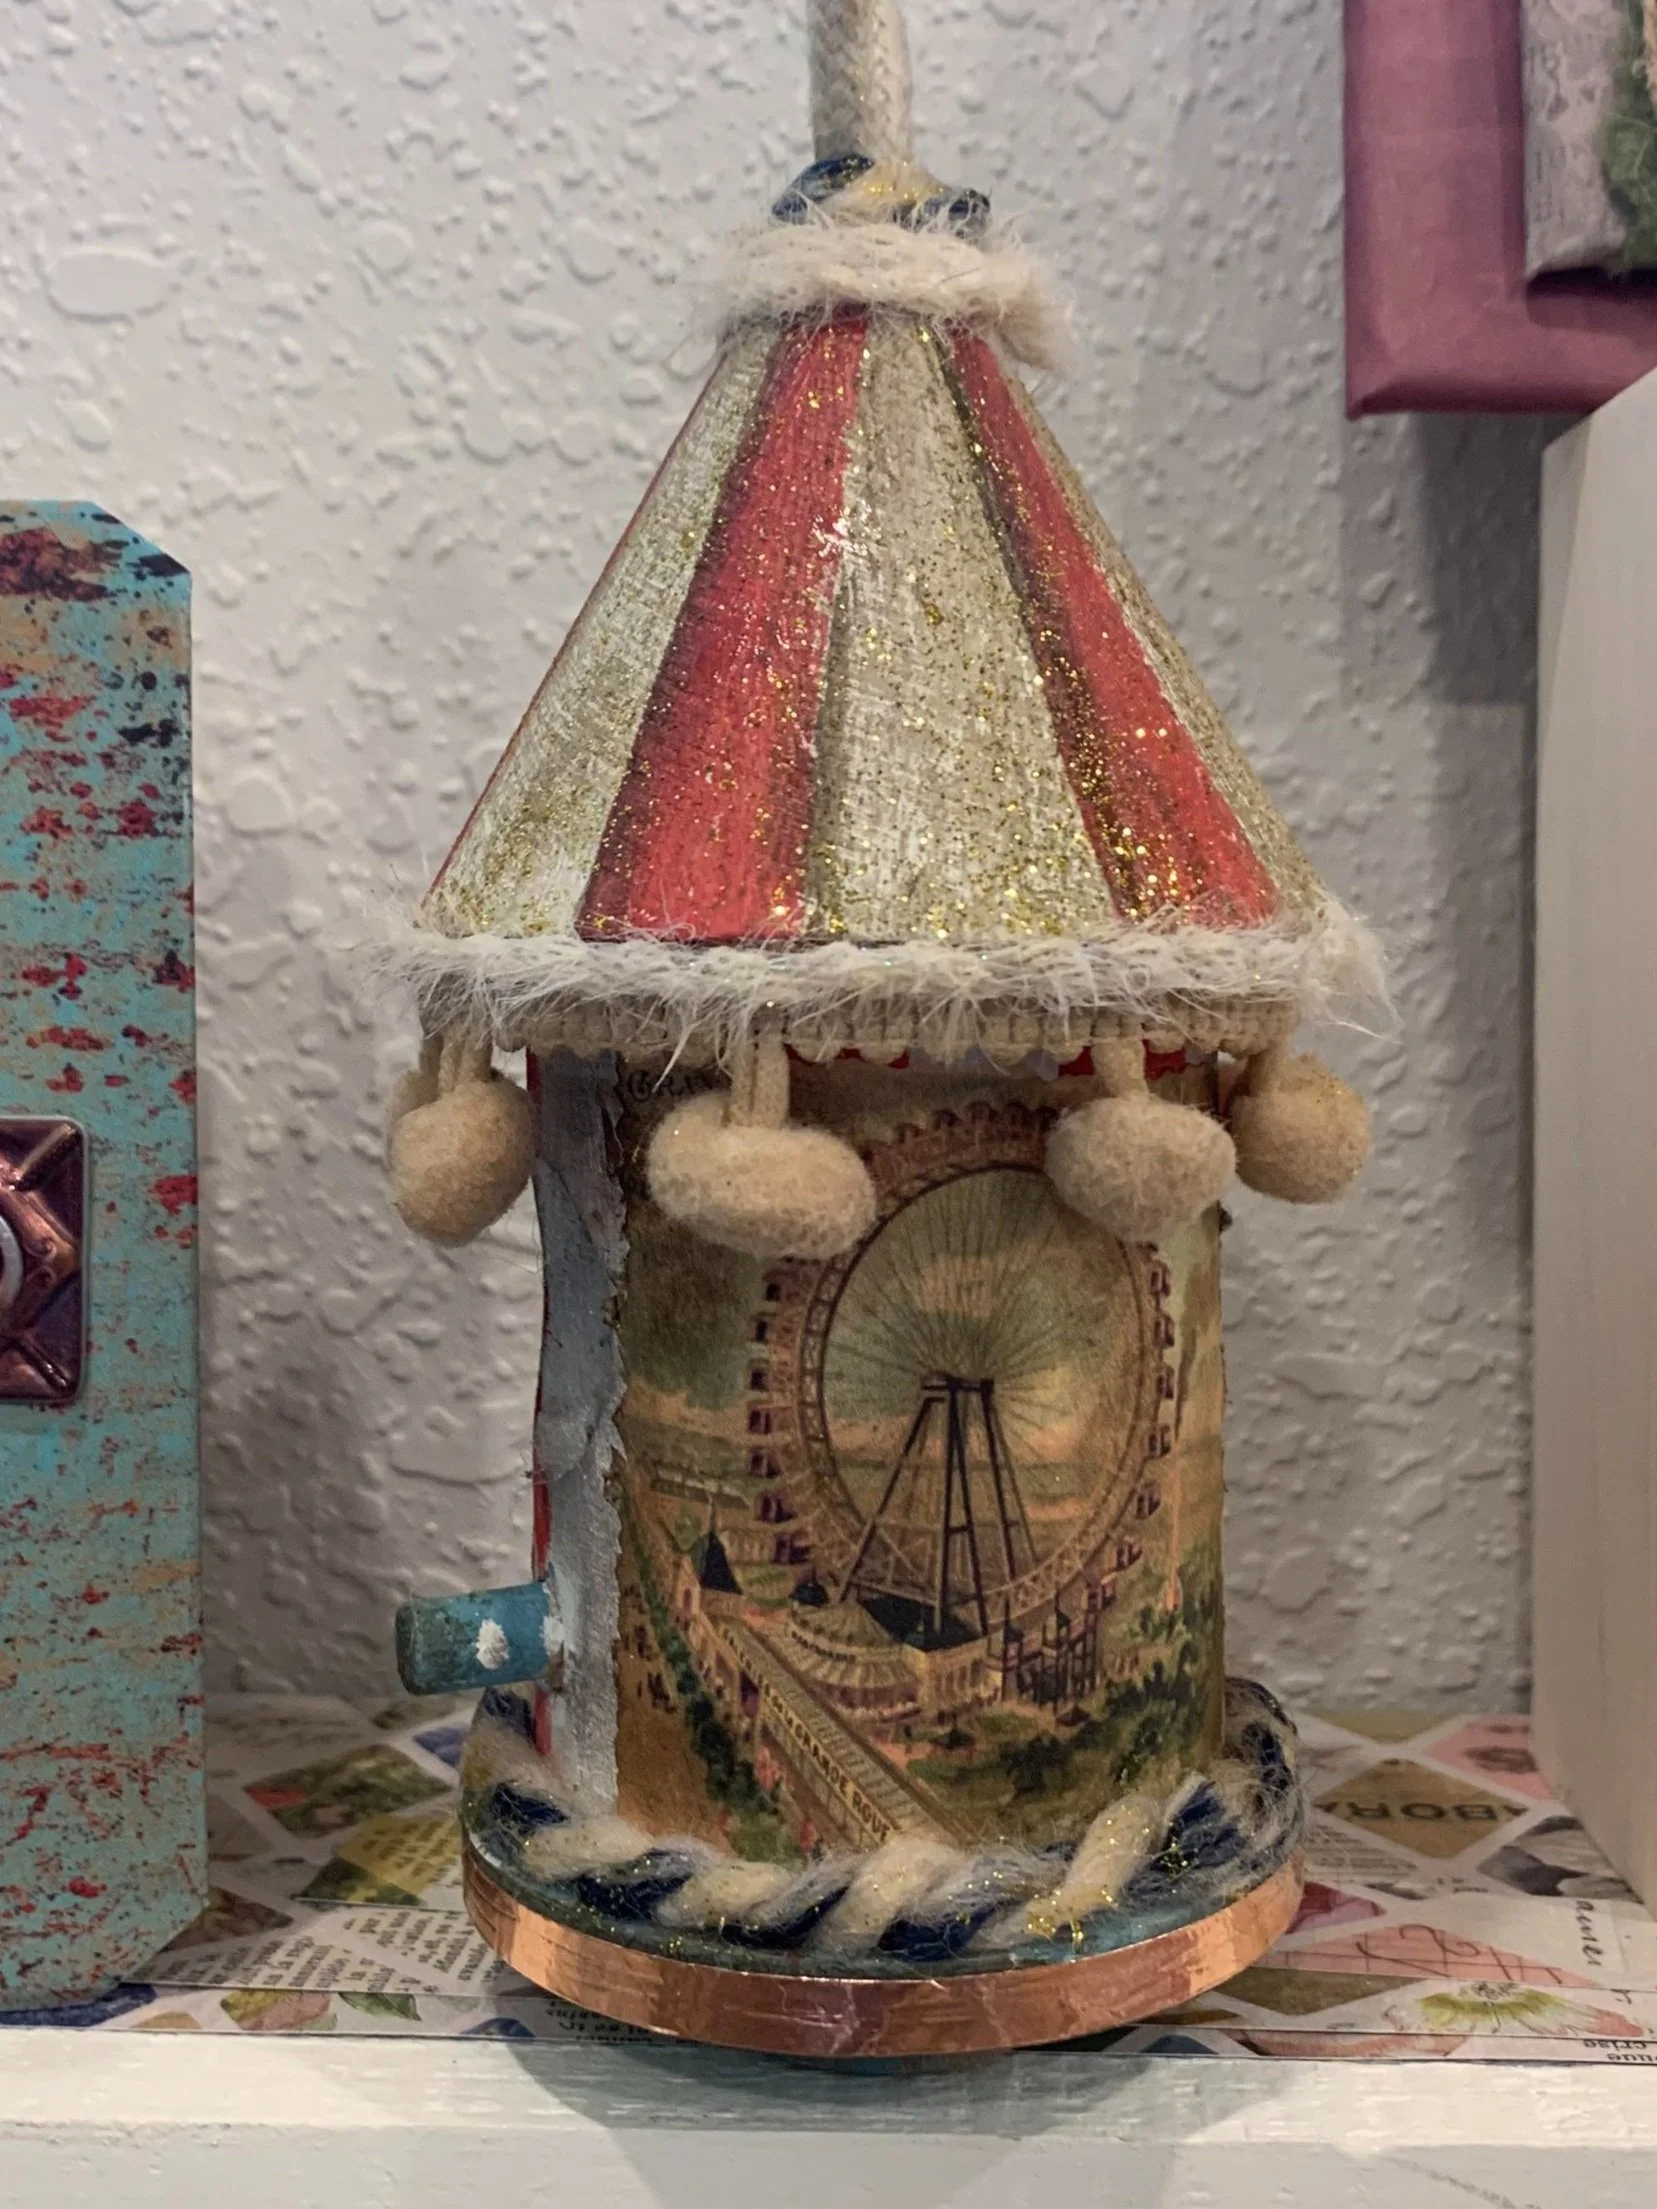
My sample ornament for the circus tree in the Fantasy house.
In the past when I have not preplanned and proportioned supplies, creativity in the group has run wild and I have run out of the staples needed to complete the project.
One year I hadn’t fully planned out the sample, and people left with only 3/4 of a yarn wreath! OOPS! So just a reminder here, sometimes things happen, even to someone doing this as long as I have. It is OKAY! We still have fun together and that is the point of GLADS!
I had originally seen a similar idea on Pinterest but there was no link attached, only a picture. So thank you to someone for the inspiration! I took the idea and ran with it, adding more embellishments and sparkle, because why not? I saved several of the circus and Paris images from the Graphics Fairy (Link above) onto a page in Publisher and sized them to fit onto the sides of my birdhouse. Microsoft Word would work too.
I aimed for at least 3 different images per person, then added more in case some chose to use all the same picture. Printed out on plain paper and bubble cut (fancy word for separated), my group had a nice assortment to choose from!
A few days before my group night, I prepped the birdhouses. When painting bare wood, the water in paint raises the grain, so when I can, I prep it before hand so the surfaces are sealed before everyone works on them.
I sloppy dry brushed the wood houses with the white paint and when dry, I lightly sanded them. I had chalk paint already, but any craft paint would be fine. I didn’t do this too heavy because I was aiming for a vintage feel.
As you know, I am all about just getting a project DONE, so honestly, all of my things look vintage. Ha!
THE NIGHT OF:
I put all of the decorations that they could choose from in the middle of the table and placed one white birdhouse and their designated trim onto a paper plate at each place setting at my kitchen table. I had two hot glue guns plugged in and ready on the island.
After they arrived and chatted and sampled all the snacks everyone brought (we are very chatty and love to EAT) we settled down to start on our craft.
We started with hot gluing the wood round on the underside of the birdhouse. They can use this as a handle while they paint, and it gives the ornament a base when just sitting on a table.
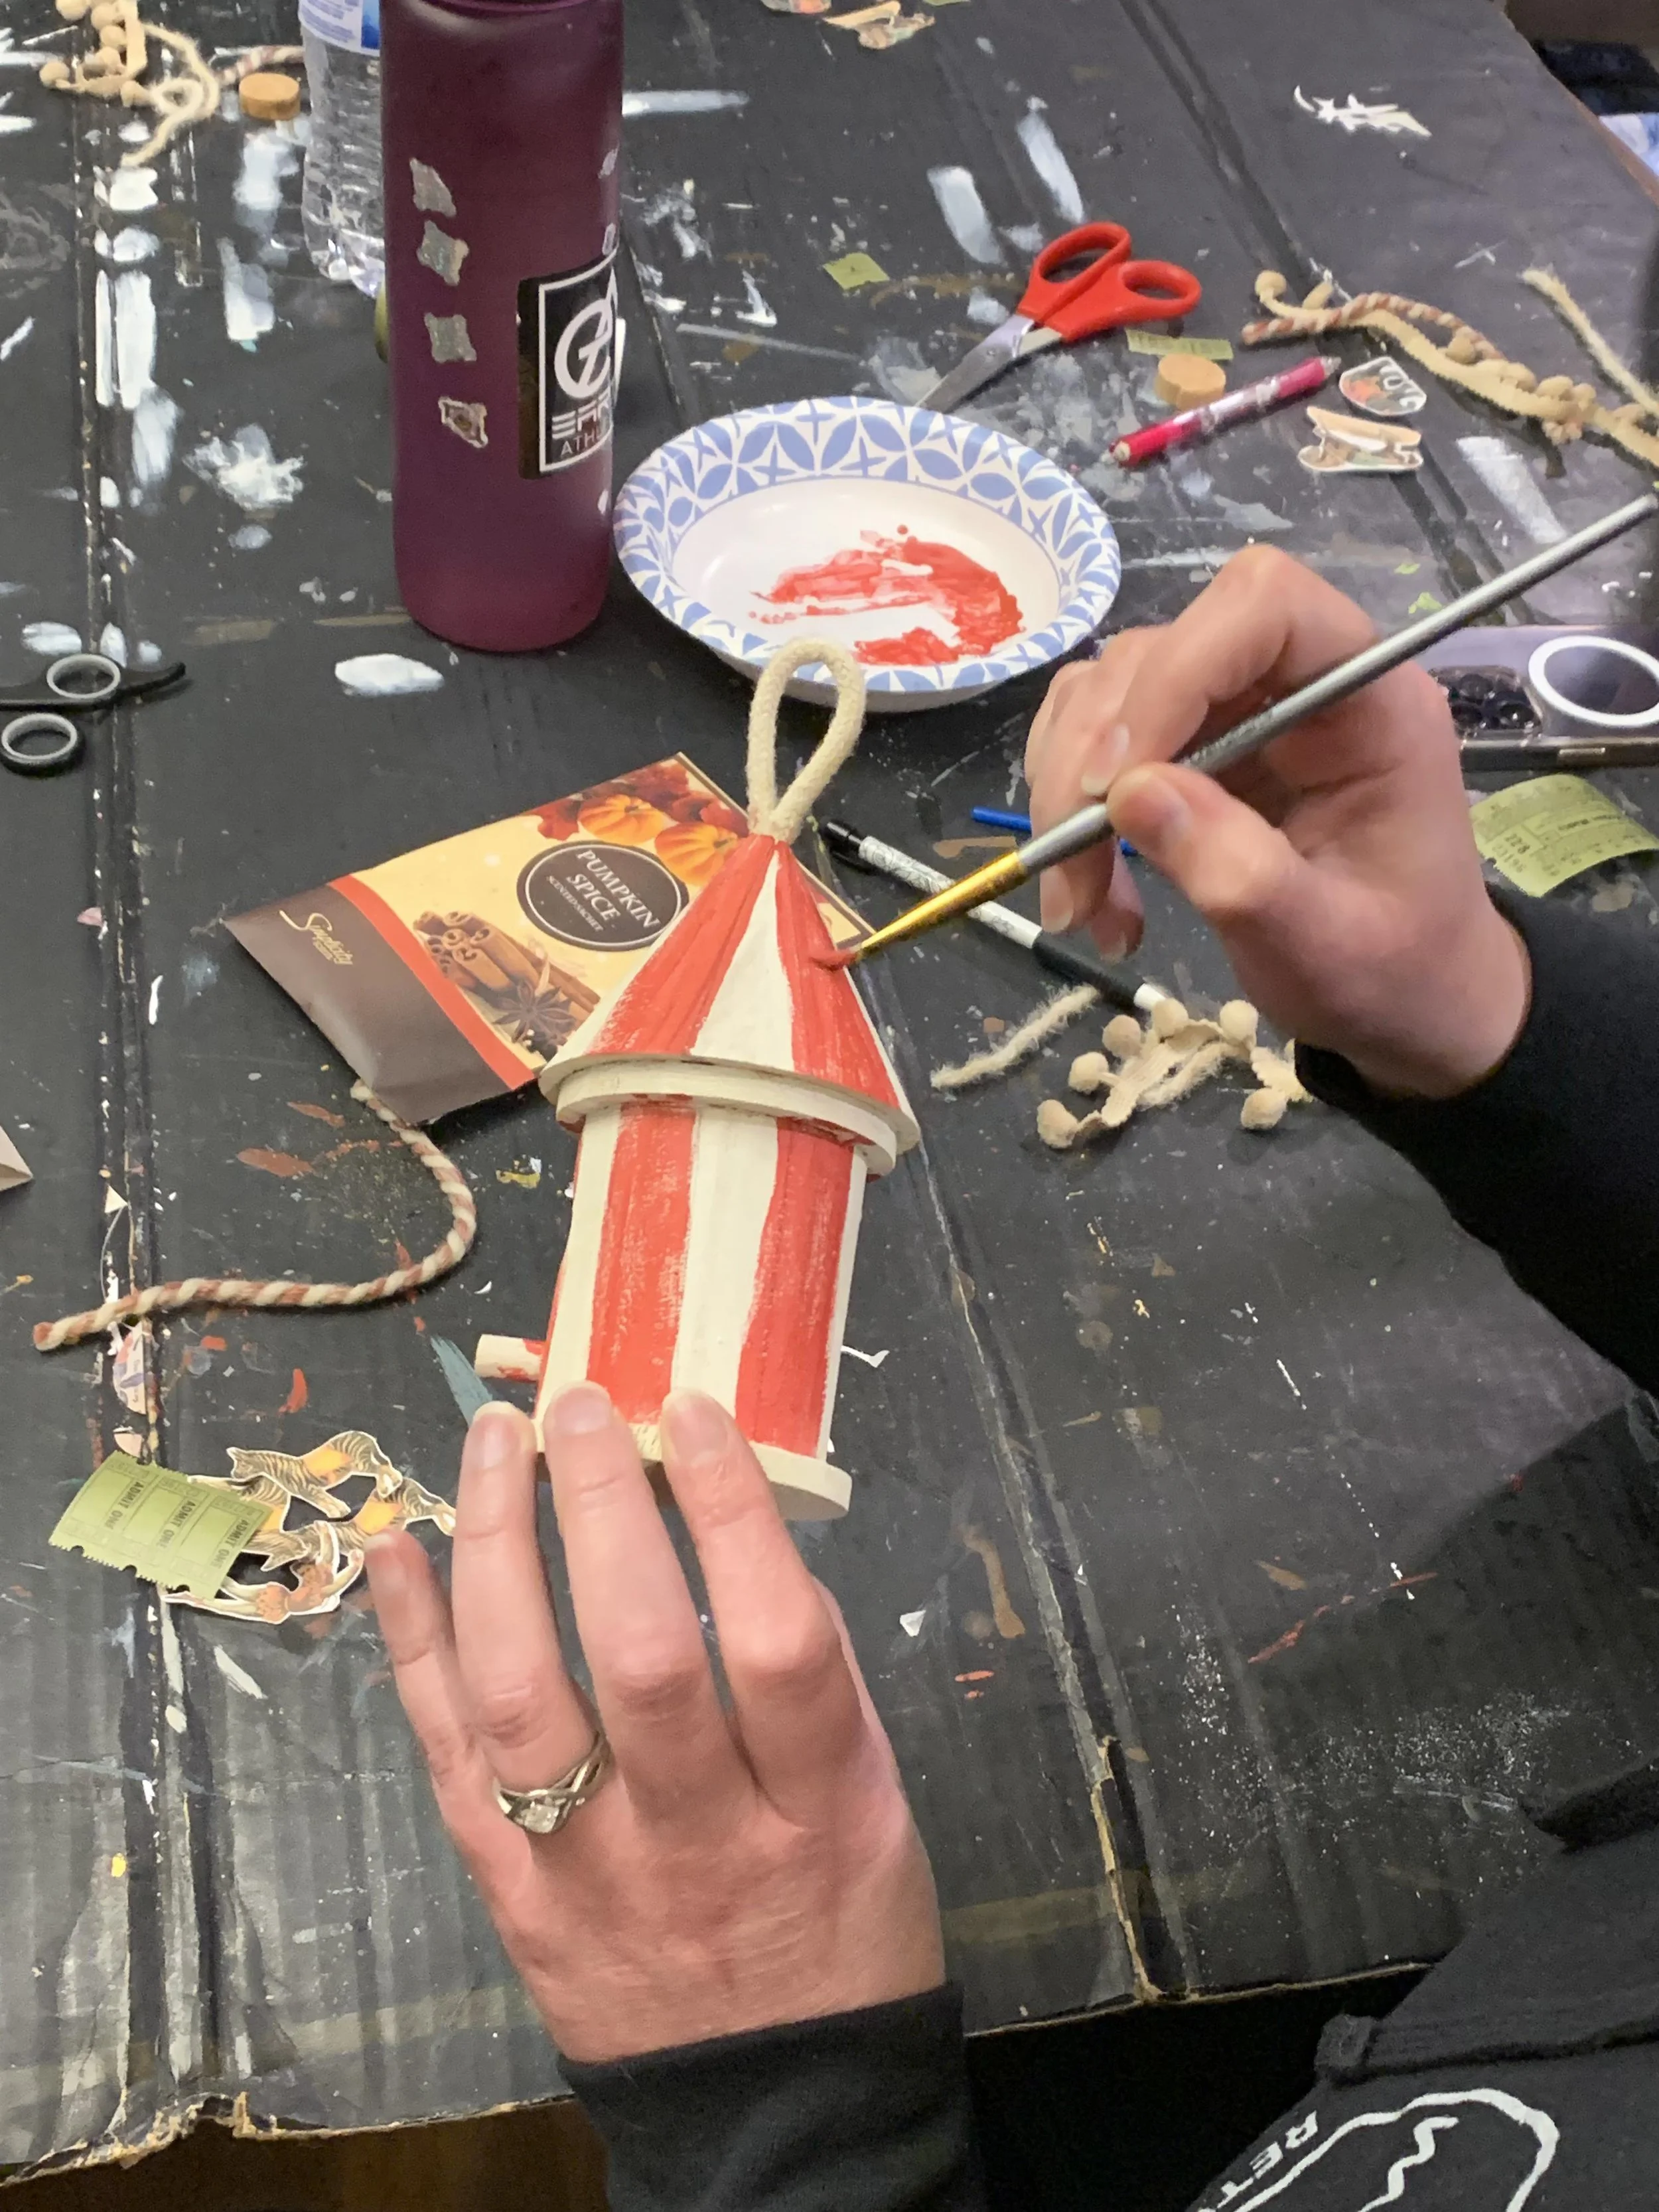
They drew the stripes very lightly with pencil on the top and continuing down the sides, making sure there would not be two red ones falling next to each other.
Tip: put a light X on the sections that will be painted red to make sure they are well spaced! Some tents ended up with 3 red stripes and others ended up with 4 or 5. It just depends on how thick you make the stripes.
Since the white sections were already finished, with a fine brush, we filled in the red sections VERY LIGHTLY on the top and sides, using the wood round as a handle. When dry, we lightly painted the bottom, underneath and the bird perch turquoise and set it all aside to dry.
Tip: Use a hair dryer or heat gun to CAREFULLY dry the project faster. Don’t get too close to the project or the paint may bubble up.
While that dried, they fussy cut around their chosen images and lightly inked over the white parts with walnut distress ink to get rid of the super white paper. They also picked out what other bits they’d like to use from my random stash, like narrow copper foil tape (I think it is made for electrical work?) and olive green tickets.
After tacky glueing the chosen paper images and ephemera where they liked them and added the sticky copper tape, some dabbed a little walnut distress ink over the paint to distress it a little more. Then they carefully hot glued the trims and yarns.
Tip: Use bamboo skewers to push and hold your items to the thin line of hot glue. Its called HOT glue for a reason, and we have had MANY blisters over the years! A friend came prepared with silicone fingertip covers as a gift to the group!
Once the painting was finished and dried, there is no particular order to those last steps. Some worked on gluing their paper pieces and sticking different tapes, while others used the hot glue guns I had lined up on my kitchen island to add their trims and rhinestones. Then they swapped places.
The very LAST step is to add the glitter glue. My house is a Glitter-Free zone, so my group was pleasantly surprised we were using glitter! The kind from dollar tree has a clear base with the glitter mixed in, so once dry it does not rub or flake off, like it would if you used separate glue and glitter.
There are other brands of glitter paint, I think I have them all, but for this I wanted the charm of the tent and graphics to show up, not too much added color or sparkle.
***Take note: while pretty, this crafters square brand takes FOREVER to dry, so it was our VERY LAST STEP. They painted it on any areas they wanted to add some sparkle, even some of the yarn got a dab! A little goes a LONG way, so I held onto the bottle and squeezed it out for people as they used it up.
TIP: Teach your group to always start with just a LITTLE paint poured out onto their plate or just dip their clean brush into the opened cap. I also recommend shared plates of paint. It’s painful seeing a plateful of paint go into the garbage!
In the past, large quantities of paints are squeezed out onto the paper plate when only a tiny amount is needed. I didn’t want that to happen to this beautiful shiny loveliness! As a result of my tight fist on the bottle, I am now dubbed “the Glitter Meister” by my friends. Hey, at least I finally let them use glitter on a craft, right?!
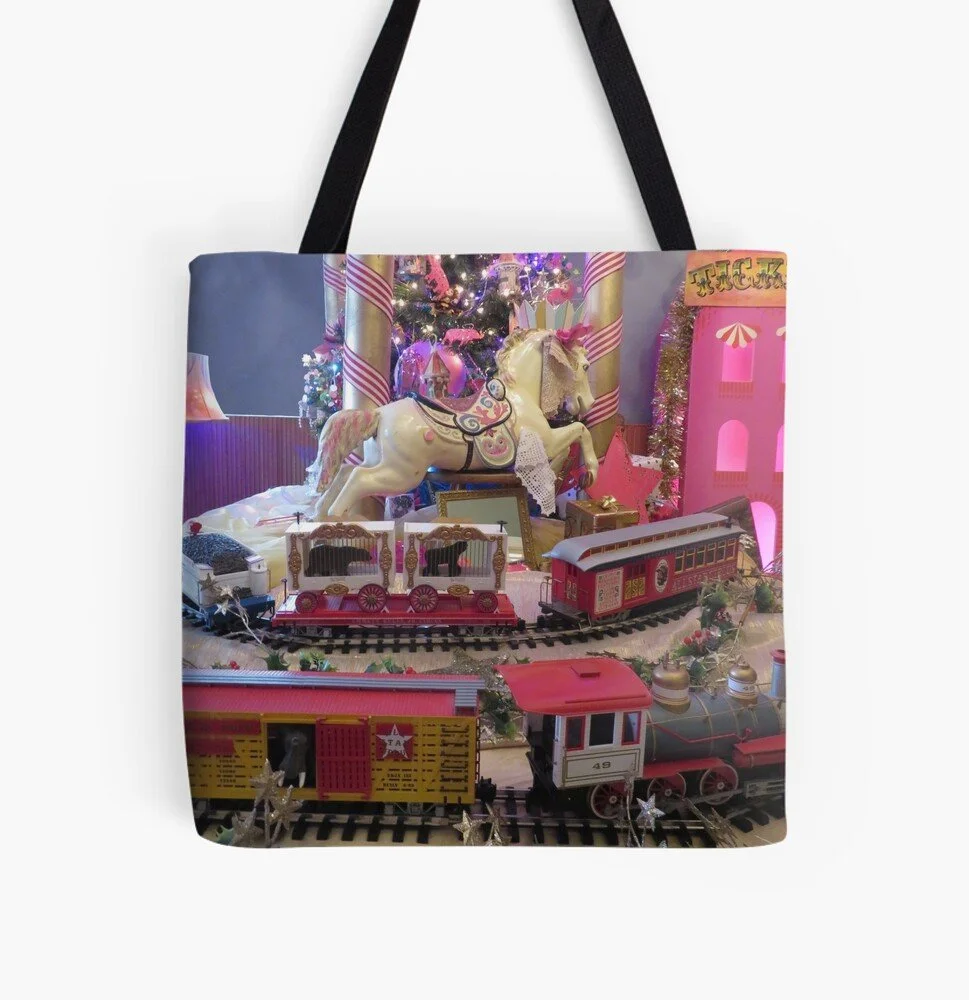
But just look at the French Circus room we put them in, they needed GLITTER!
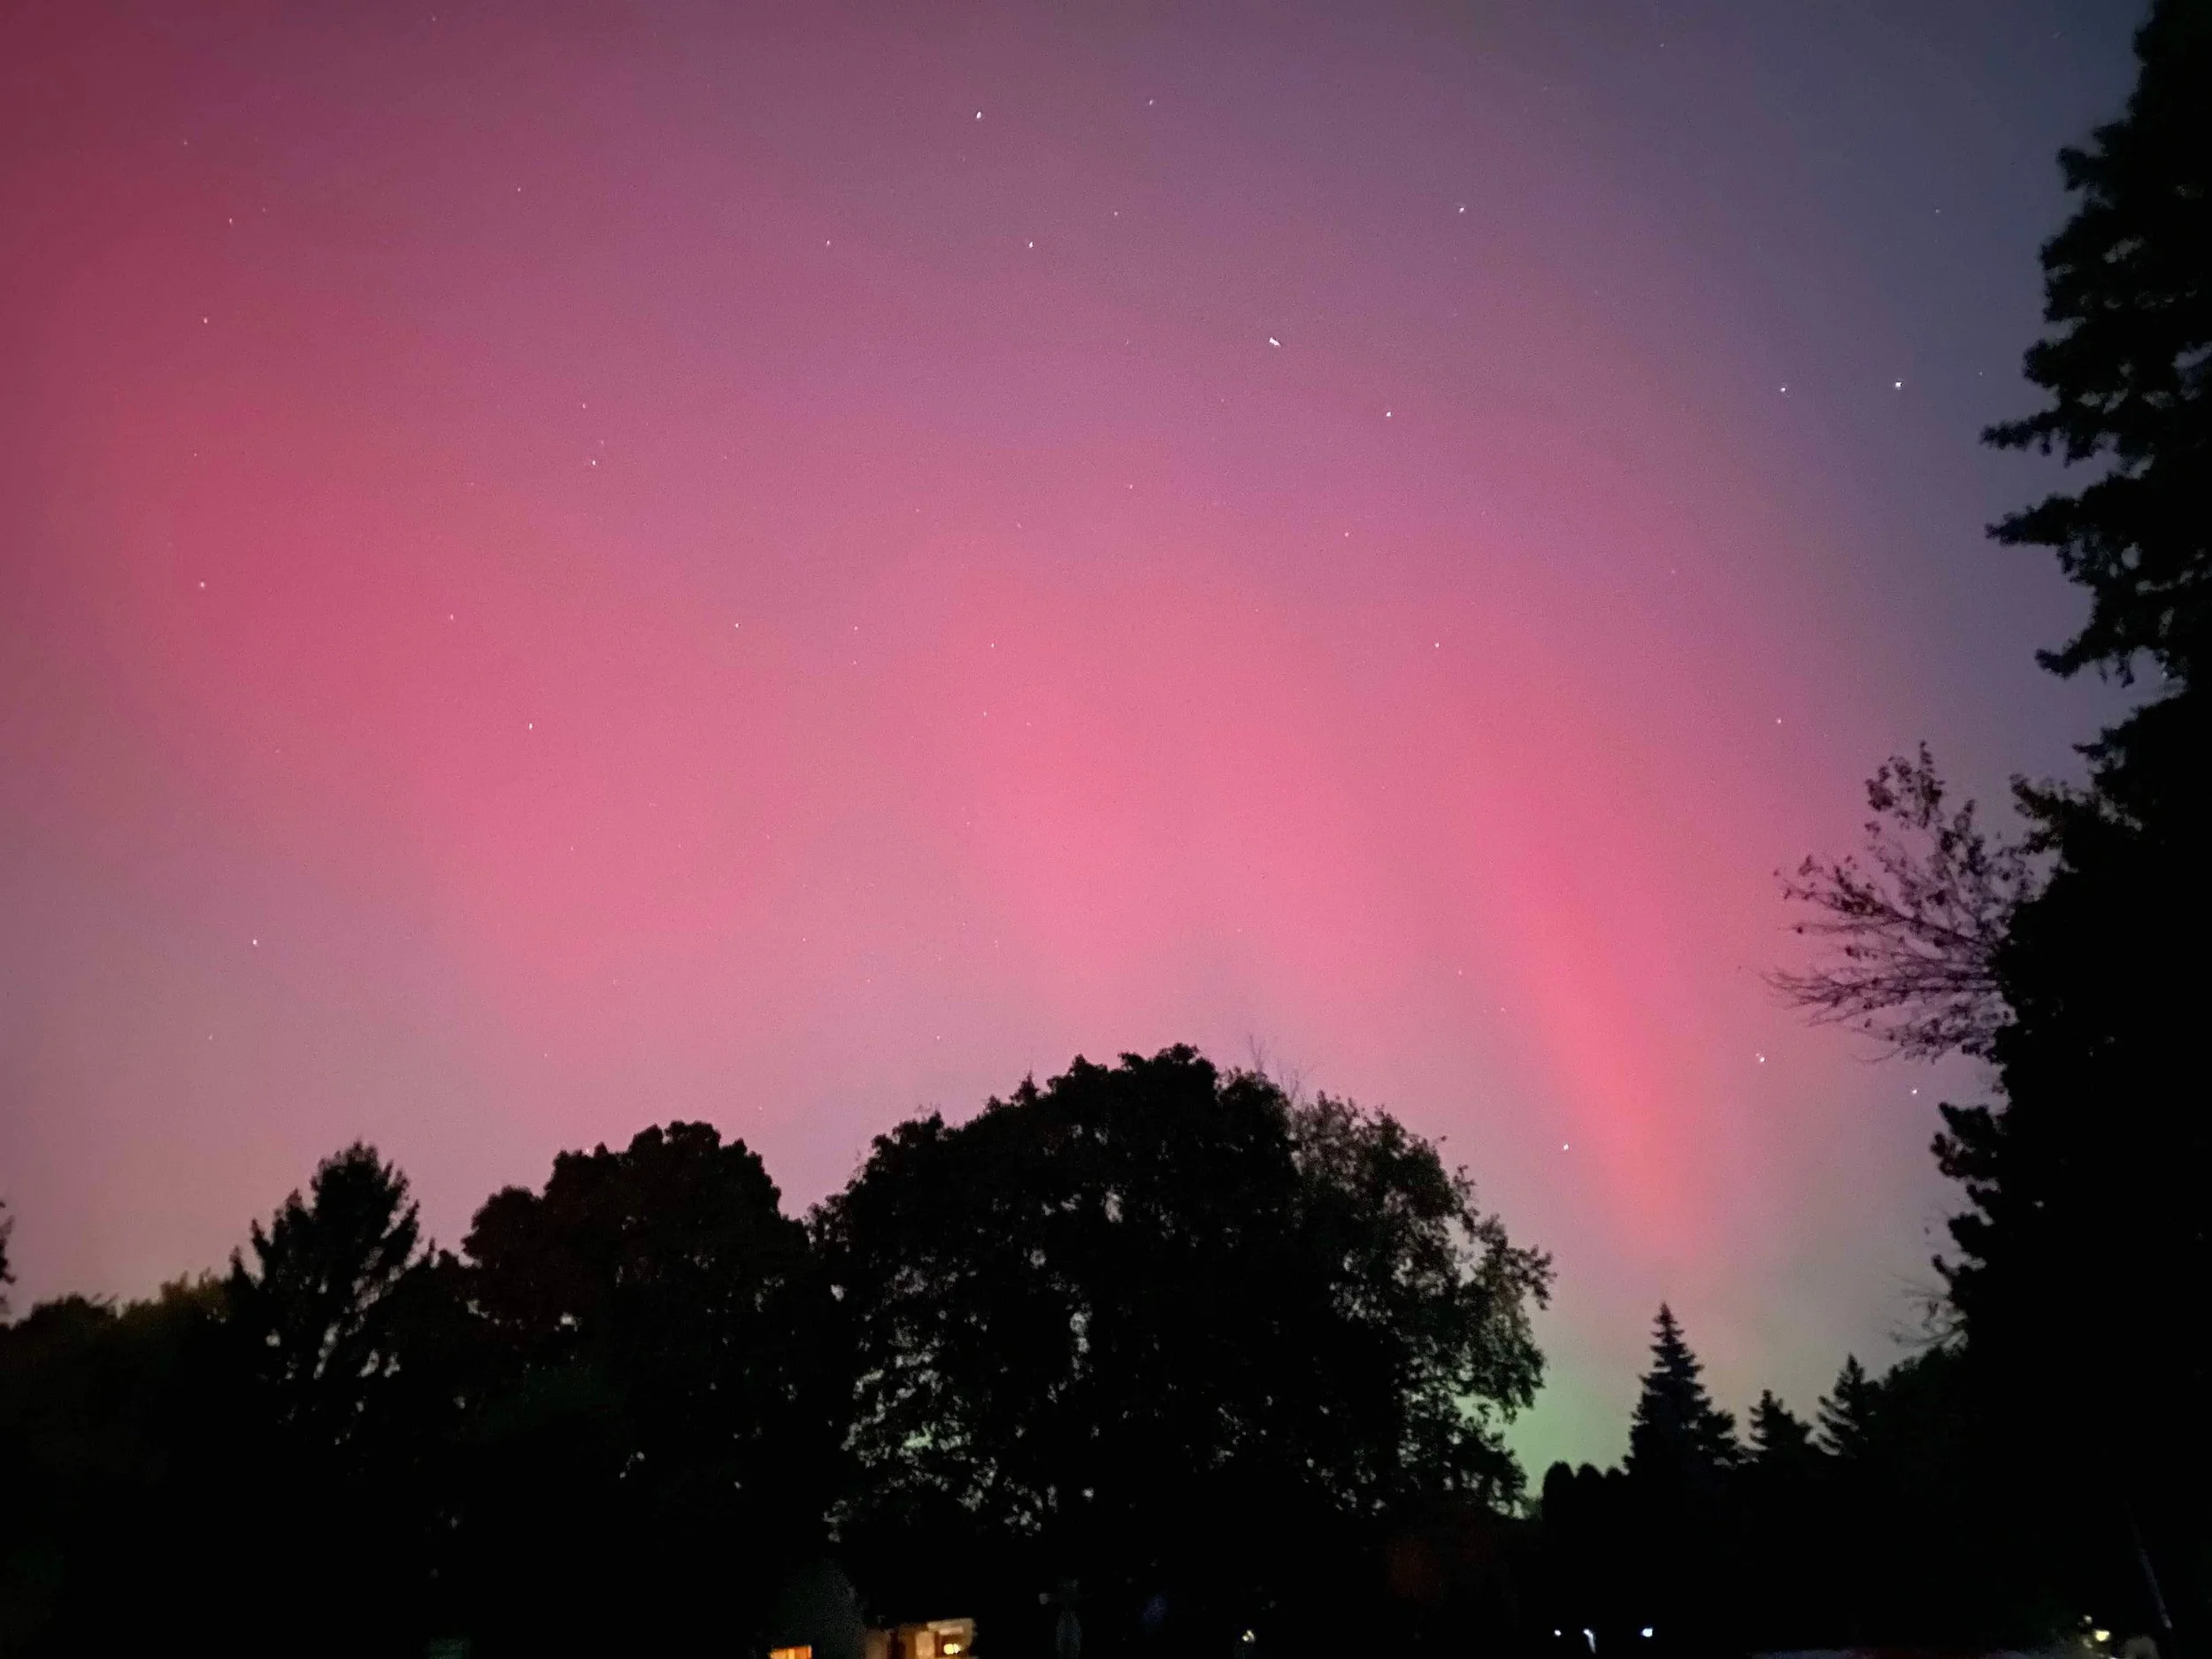
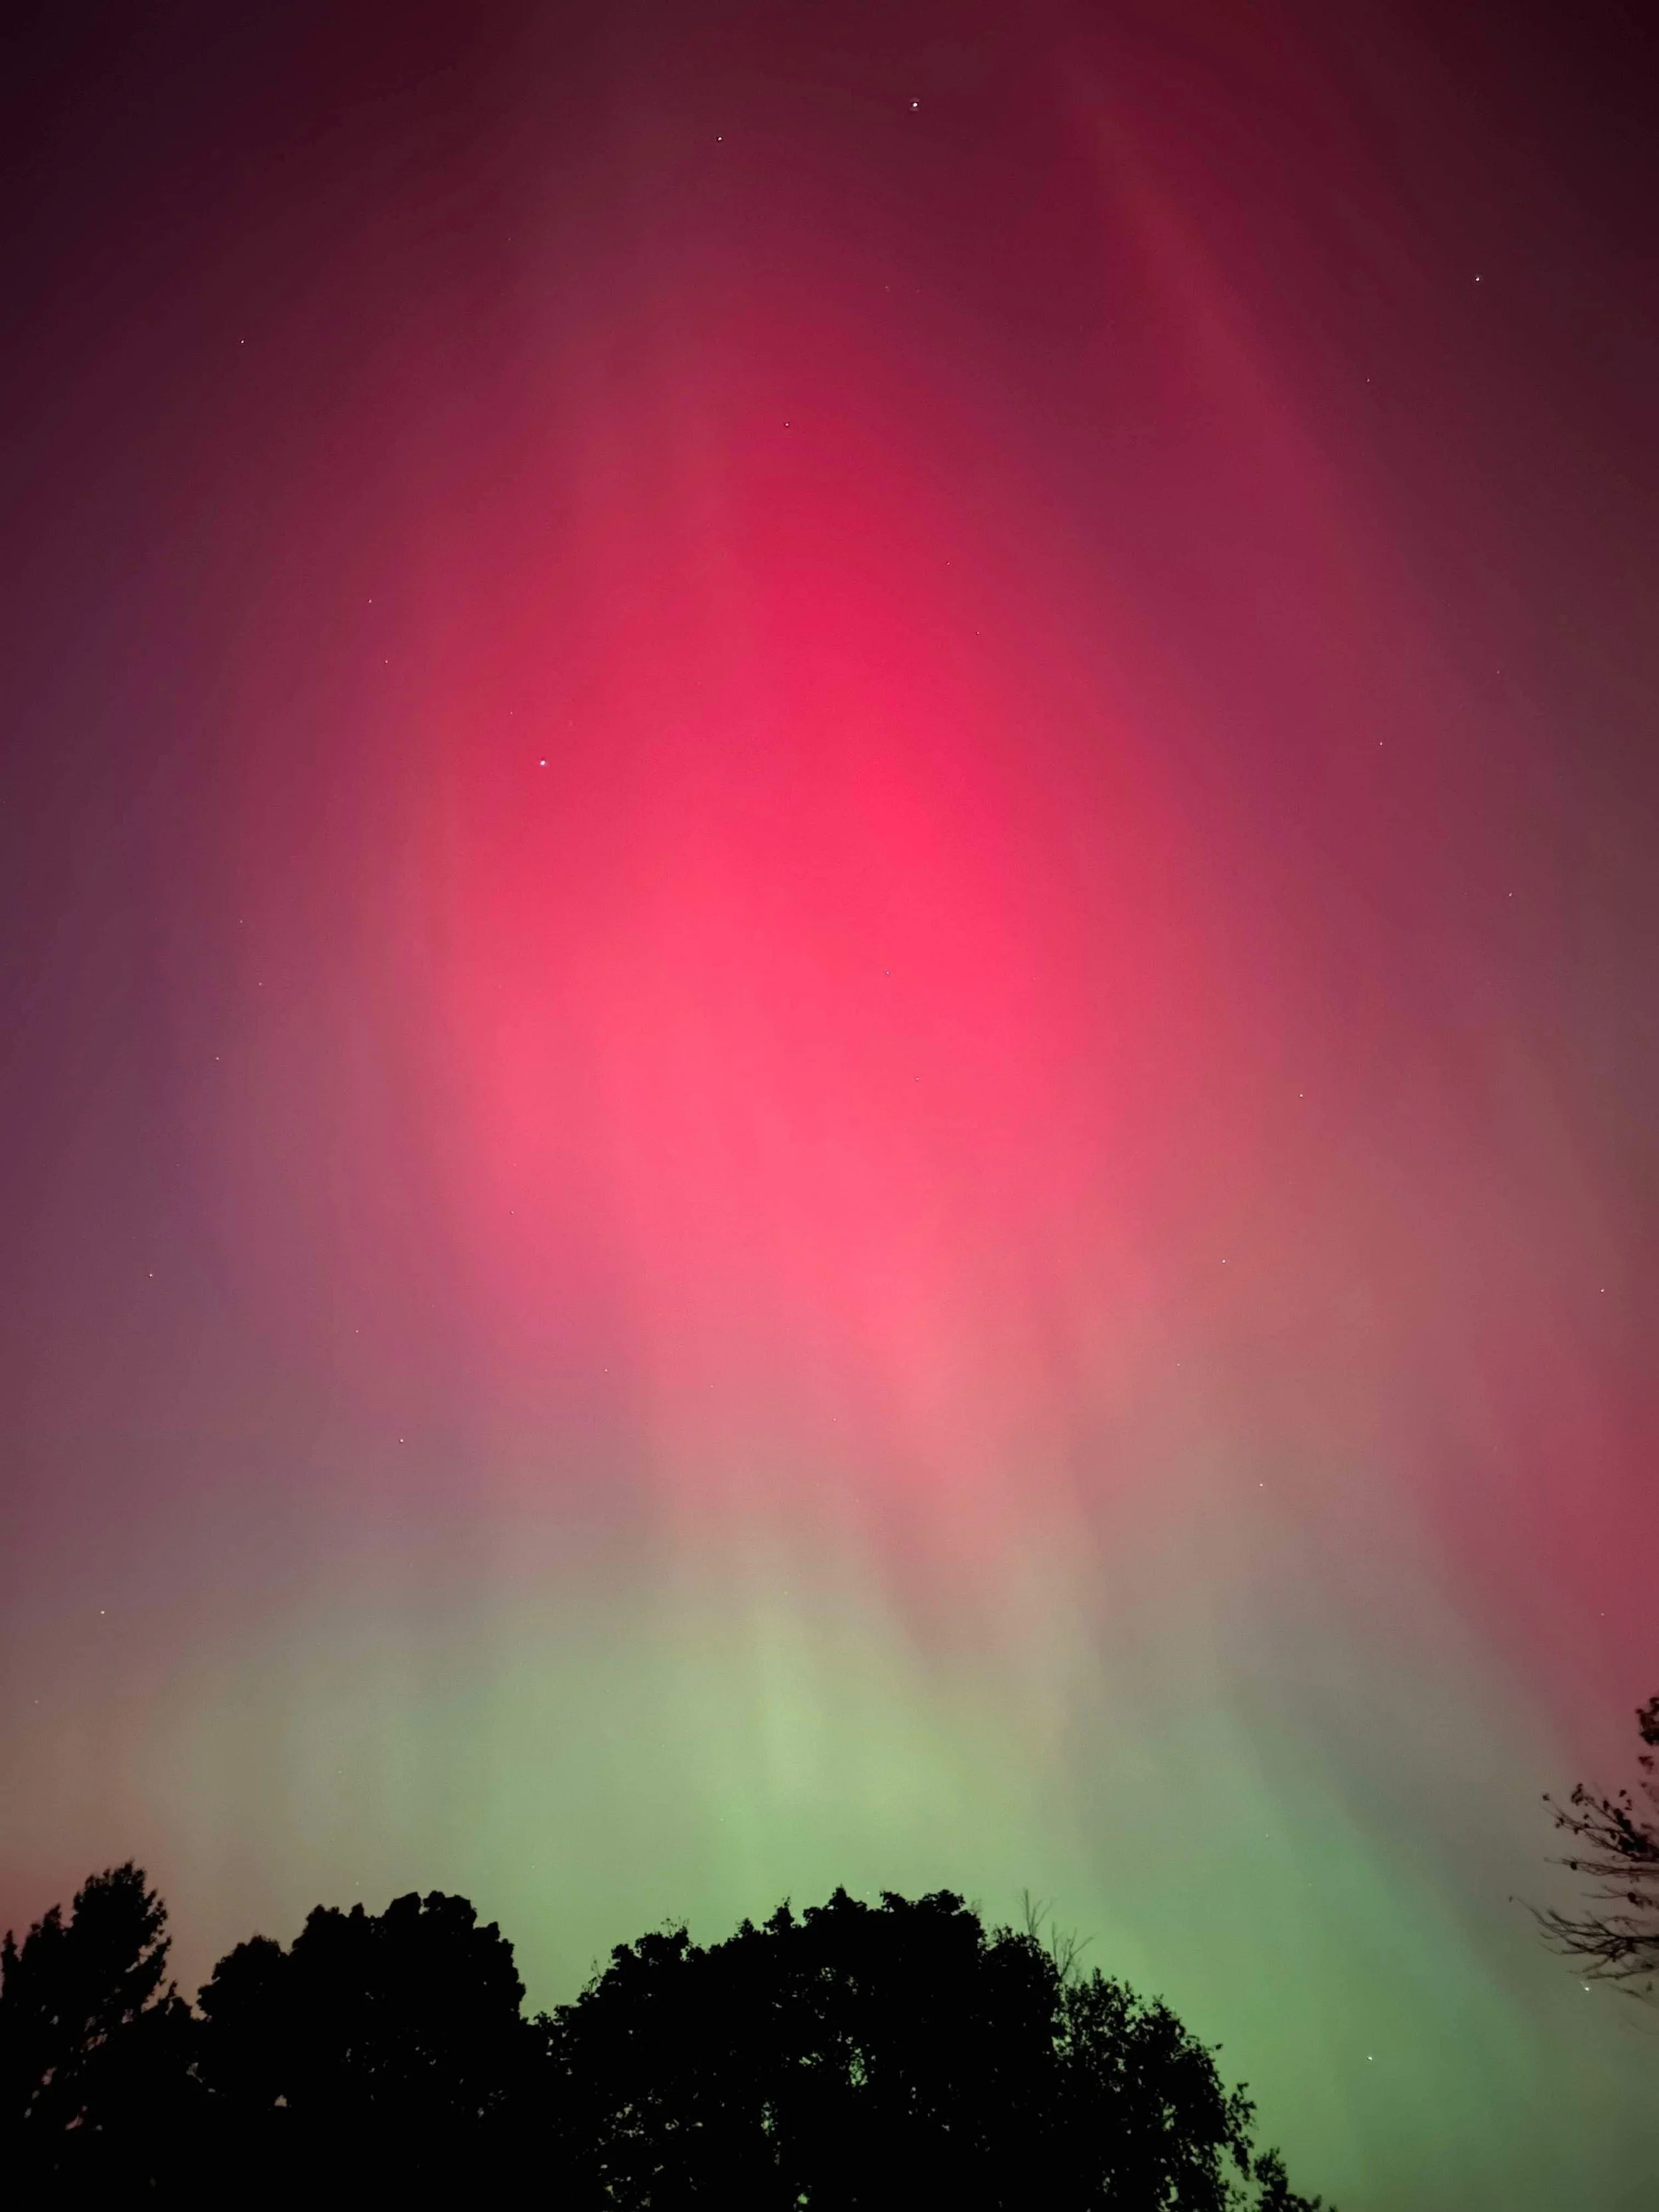
They left their completed projects on my table overnight to dry for delivery to the fantasy house the following week, and we all ran outside to look at the Northern Lights! This was the first time many of us have seen them, and we were happy we remembered to look! We stood outside for over an hour and watched and took pictures and talked in the road. It was the perfect memory!
When our projects were complete, we were reminded that the northern lights were a possibility, so we all ran out into my driveway. This was the first time many of us have seen them!
God made the sky match our Circus theme for the night!
If you are interested in a keepsake of this years French Circus themed Fantasy house, we have many products for sale here.
